Programming Allen Bradley PLCs: A Beginner’s Guide
Allen-Bradley PLCs are some of the most widely used automation controllers in industrial environments. Whether you're stepping into the world of industrial automation or upskilling as a technician or engineer, learning how to program Allen-Bradley PLCs is a powerful career move.
This beginner-friendly guide walks you through the essentials of programming Allen-Bradley PLCs using RSLogix 500 and Studio 5000 the two most common Rockwell Automation platforms.
Step 1: Understand What a PLC Is
A Programmable Logic Controller (PLC) is an industrial computer used to automate machinery and processes in manufacturing, packaging, material handling, and more. It reads input signals (like switches or sensors), executes a programmed logic sequence, and then controls outputs (such as motors or valves) in real time.
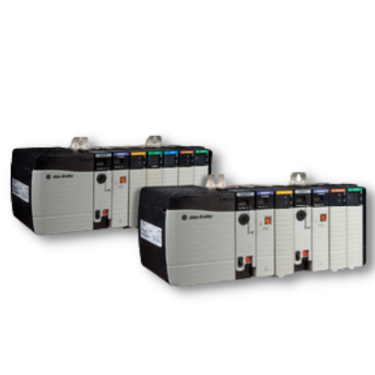
Allen-Bradley PLCs, built by Rockwell Automation, are known for:
-
Rock-solid reliability
-
Easy-to-use programming environments
-
Scalable architecture (from MicroLogix to ControlLogix)
Step 2: Set Up Your Software
You’ll need the right Rockwell software based on the PLC model you're working with:
| Software | PLC Models Supported |
|---|---|
| RSLogix 500 | MicroLogix and SLC series (e.g., 1400) |
| Studio 5000 | CompactLogix and ControlLogix series |
To get started:
-
Visit Rockwell Automation's website to download software.
-
Install RSLinx Classic (for communications).
-
Activate your license using FactoryTalk Activation Manager.
Example: Use Studio 5000 to program a 1769-L24ER CompactLogix 5370 controller for a smart assembly line.
Step 3: Connect to Your PLC
Connecting your PC to the PLC is essential before you can begin programming.
Steps:
-
Use an Ethernet, USB, or serial cable depending on your PLC model.
-
Open RSLinx and verify communication via the RSWho utility.
-
Set your PC’s IP address to match the PLC’s subnet.
Pro Tip: For CompactLogix or ControlLogix over Ethernet, use BOOTP/DHCP utility if the IP address needs configuration.
Step 4: Create a New Project
Now that you're connected, it's time to create your project.
-
Launch Studio 5000 or RSLogix 500.
-
Choose New Project.
-
Select the exact PLC model and firmware version.
-
Name your project and define hardware modules (I/O cards, power supply, etc.).
Example: In Studio 5000, select ControlLogix 1756-L83E, and configure I/O modules like 1756-IB16 (digital input) and 1756-OB32 (digital output).
Step 5: Write Your First Ladder Logic Program
Allen-Bradley PLCs primarily use ladder logic, a visual programming language that resembles electrical relay schematics.
To create a basic motor control program:
-
Open the Main Routine in the ladder editor.
-
Add a rung using an XIC (Examine If Closed) instruction for a Start Button.
-
Add an OTE (Output Energize) for the Motor Output.
-
Include a Seal-In (latching) contact for holding the motor ON.
Simple Motor Start/Stop Logic:
Step 6: Download and Test Your Program
Now it’s time to bring your program to life.
-
Verify your logic using the Verify Project tool.
-
Click Download to send the program to the PLC.
-
Switch the controller to Run Mode.
-
Test your program by toggling inputs or using a connected HMI or pushbuttons.
Safety Reminder: Always test programs in a controlled, non-production environment before deploying.
Conclusion: Start Small, Scale Fast
Learning to program Allen-Bradley PLCs opens the door to a rewarding and future-proof career in automation. By starting with basic ladder logic and progressing through real-world examples, you can build the confidence and skillset needed for increasingly complex systems.
Whether you’re working on a packaging line or a large manufacturing cell, this knowledge will make you a valuable asset to any automation team.
For more information, contact PLG Automation:
Email: sales@plgautomation.com
Phone: 800-906-9271