A Comprehensive Guide: Connecting Allen Bradley and Compactlogix Controllers via Ethernet
In today’s connected industrial environments, Ethernet communication is the backbone of efficient automation. Whether you need remote monitoring, program uploads, or real-time diagnostics, connecting your Allen-Bradley or CompactLogix controller via Ethernet unlocks powerful functionality and flexibility.
This step-by-step guide walks you through the Ethernet connection process from IP setup to driver configuration whether you're using Allen-Bradley ControlLogix, CompactLogix, or MicroLogix systems.
What You’ll Need
Before you begin, make sure the following tools and software are available:
-
Allen-Bradley or CompactLogix controller with an Ethernet port
-
Ethernet cable (CAT5e or higher recommended)
-
A computer with an Ethernet port (or USB-to-Ethernet adapter)
-
Installed software:
-
RSLinx Classic
-
RSLogix 500 (for MicroLogix/SLC) or Studio 5000 (for CompactLogix/ControlLogix)
-
BootP DHCP Server (for IP assignment if needed)
-
Step 1: Configure Your PC's Ethernet Settings
To communicate with your PLC, your computer’s IP address must be in the same subnet as the controller.
Windows (Any Version) – Static IP Setup:
-
Go to Control Panel > Network and Sharing Center
-
Click Change Adapter Settings
-
Right-click on your Ethernet adapter > Properties
-
Select Internet Protocol Version 4 (TCP/IPv4) > Properties
-
Choose Use the following IP address
-
IP:
192.168.1.10(example) -
Subnet:
255.255.255.0 -
Leave the default gateway blank
-
-
Click OK
Step 2: Assign an IP Address to Your PLC
There are multiple methods depending on your controller:
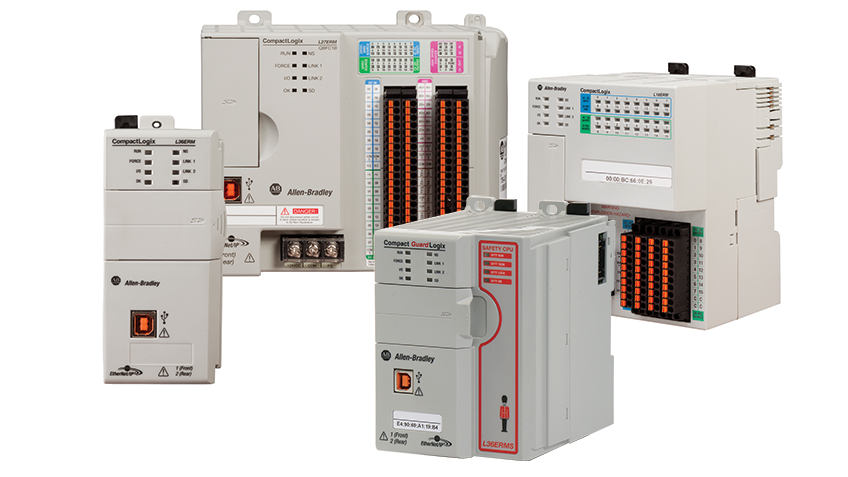
🔹 CompactLogix (e.g., 1769-L24ER, 1769-L35ER):
-
USB Method: Connect via USB, open Studio 5000 or RSLinx, and assign the IP through Module Properties
-
BootP/DHCP Utility:
-
Launch BootP DHCP Server
-
Power up your controller its MAC address will appear in the list
-
Assign an IP address (must match your PC’s subnet)
-
Disable BootP by clicking Disable BOOTP/DHCP
-
🔹 MicroLogix or Older ControlLogix Models:
-
Use RSLogix 500 or physical rotary switches (if applicable) to configure the IP address manually.
Step 3: Wire the Ethernet Connection
Connect the hardware:
-
Plug one end of the Ethernet cable into the PLC’s Ethernet port
-
Plug the other end into your computer’s Ethernet port
Note: Use a direct cable for PC-to-PLC or a network switch if multiple devices are involved.
Step 4: Configure the Driver in RSLinx
For CompactLogix or ControlLogix:
-
Open RSLinx Classic
-
Go to Communications > Configure Drivers
-
Select EtherNet/IP Driver and click Add New
-
Leave defaults or set a specific subnet (e.g.,
192.168.1.0) -
Click OK and Close
-
Navigate to RSWho to confirm communication your PLC should appear under the Ethernet tree
Step 5: Test the Connection
Option 1: Web Browser Ping (if enabled)
-
Open a browser and type the PLC’s IP (e.g.,
http://192.168.1.100) -
If successful, the PLC’s web interface or diagnostic page appears
Option 2: RSLogix/Studio 5000 Upload
-
Open RSLogix 500 or Studio 5000
-
Go to Communications > Who Active
-
Select the detected PLC and click Upload to verify data transfer
Bonus Tip: Set the PLC to Run Mode
After successful connection and download, place the controller into RUN or REMOTE RUN mode to begin execution.
Conclusion
Connecting your Allen-Bradley or CompactLogix controller via Ethernet is essential for modern automation. With the right configuration static IP, RSLinx setup, and physical connection you'll be up and running in minutes.
Whether you’re troubleshooting in the field or commissioning a new system, mastering Ethernet connectivity is a critical skill for every controls engineer or technician.
For more information, contact PLG Automation:
Email: sales@plgautomation.com
Phone: 800-906-9271