Is My PLC Battery Dead? How to Test a PLC Battery with a Multimeter
A Programmable Logic Controller (PLC) is an industrial digital computer used to automate manufacturing processes such as packaging, material handling, and assembly lines. To ensure program memory is retained during power outages, most PLCs include a battery that backs up volatile RAM memory. If this battery fails, critical control logic can be lost.
This guide explains how to identify a failing PLC battery, the function of the battery, and how to test it using a digital multimeter.
What Does a PLC Battery Do?
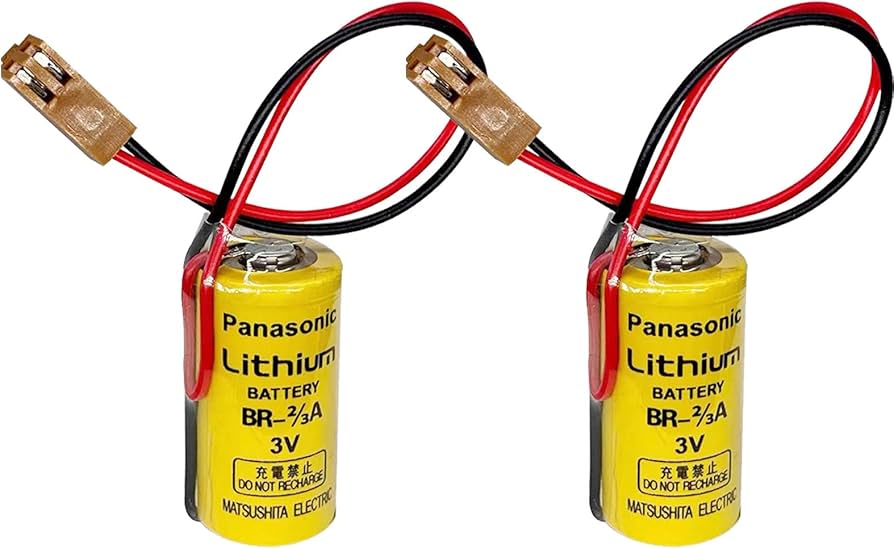
The PLC battery powers volatile RAM memory when the main power is off. This prevents the loss of programmed logic, configuration settings, and runtime data. Most PLCs use lithium or lithium-thionyl chloride batteries with typical voltages of 3.0 VDC or 3.6 VDC.
Signs Your PLC Battery May Be Dead
-
BATT LED Warning – A flickering or red/yellow battery LED on the CPU module signals low voltage.
-
Frequent Power Failures – Extended outages can drain the battery.
-
Aging System – Batteries older than 2-3 years are prone to failure.
-
Loss of Memory on Power Cycle – If your system loses its program or configuration after shutdown, the battery may be dead.
What Happens If the PLC Battery Dies?
If the battery fails and the PLC loses power, volatile memory is wiped. This may halt operations until the program is reloaded from backup. Therefore, regular battery checks are essential.
How to Test a PLC Battery with a Multimeter
1. Disconnect the Battery
-
Turn off the PLC and carefully remove the battery from the CPU module or holder.
2. Visual Inspection
-
Look for corrosion, leakage, bulging, or damaged terminals. Replace if damaged.
3. Setup the Multimeter
-
Plug the black lead into the COM port.
-
Plug the red lead into the VΩmA port.
-
Turn the dial to DC voltage (DCV or V with a straight line and three dots).
-
If not auto-ranging, set it to 0–5 VDC for most PLC batteries.
4. Measure Voltage
-
Touch the red lead to the battery's positive (+) terminal.
-
Touch the black lead to the negative (-) terminal.
-
Read the voltage:
-
3.0V battery: Replace if < 2.0V
-
3.6V battery: Replace if < 2.4V
-
5. (Optional) Measure Amperage
-
Switch dial to DC current (A or mA).
-
Follow your multimeter’s instructions for inline current testing.
When to Replace the Battery
-
Battery age exceeds 2–3 years.
-
Voltage is below 70% of rated value.
-
Memory loss during power outage.
Best Practices
-
Schedule routine battery checks.
-
Replace batteries proactively (every 2–3 years).
-
Store a replacement battery onsite.
-
Document battery voltage readings over time.
Monitoring your PLC battery ensures uninterrupted operation and protects against memory loss during unexpected shutdowns. Testing with a digital multimeter is a simple, effective way to verify your battery’s health.
Contact PLG Automation
Email: sales@plgautomation.com
Phone: 800-906-9271